How To Remove Polygel Nails Manually | 5 Easy steps
5 Easy steps to remove your polygel nails without any damage.


How To Remove Polygel Nails In 5 Steps
Have your polygel nails grown up and no longer look cute?
No problem! Because today we will explain an easy way how to remove polygel nails without any damage.
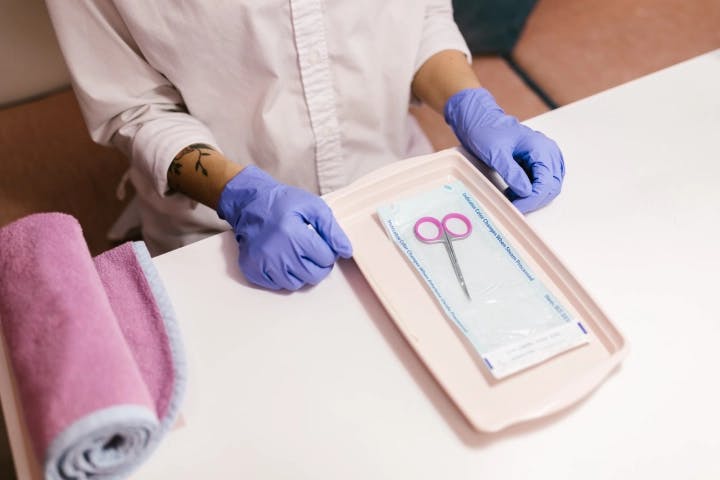
1. Remove Extra Length
As a first step carefully remove any extra length of your polygel nails with the nail cutter.
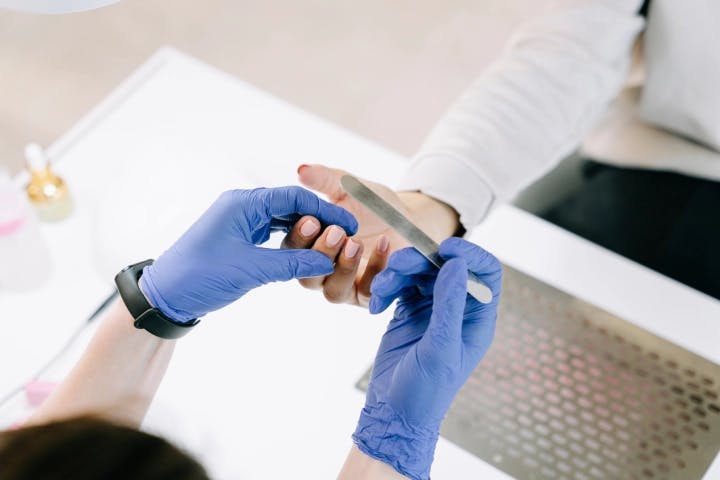
2. File Off The Polygel
To file off the polygel manually use 100 to 120 nail file grits. Start by filing off the polygel from the cuticle to the tip. Make sure you leave a thin layer of polygel on your nail so you don't damage the natural nail.
Once you are finished with the 100 or 120-grit files. Use the 180-grit file to carefully remove the remaining layer of polygel. Avoid pressing too hard during this process to avoid damaging your natural nails.
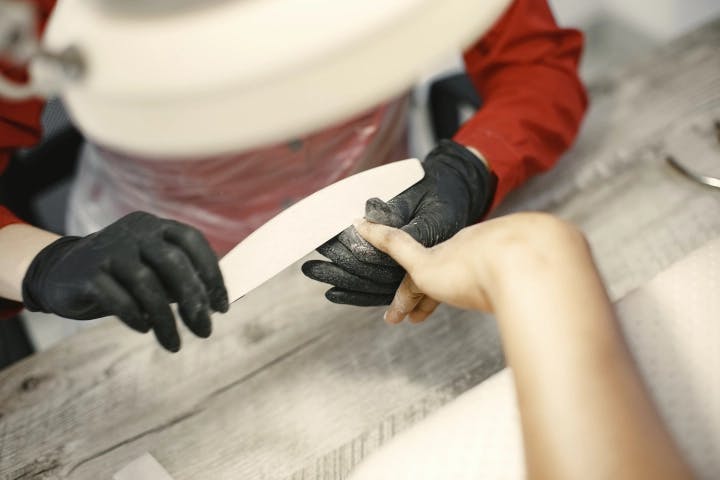
3. Remove Deep Scratches
It's time to take a 240-grit buffer and gently remove deep scratches. Brush your nails gently from one side to the other.
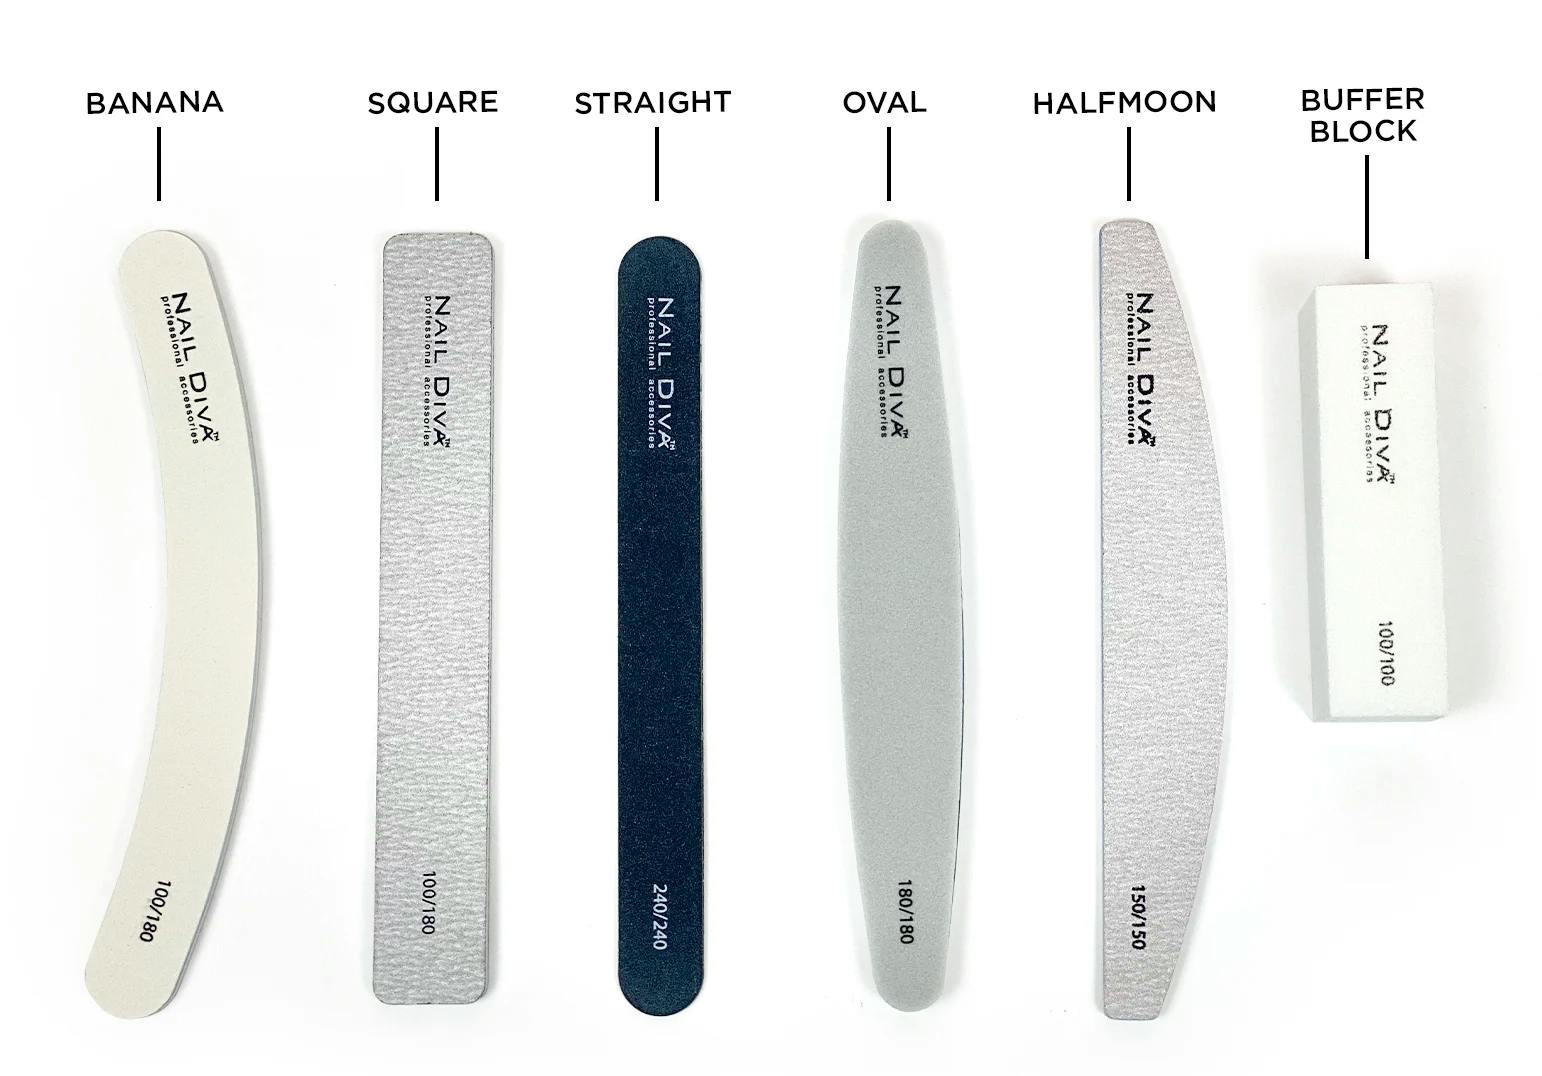
4. Remove Any Small Scratches
After finishing with the buffer, remove any smaller scratches with a soft polisher. Use one side for smoothing out imperfections. While the other side polishes your natural nail.
5. Use The Cuticle Oil
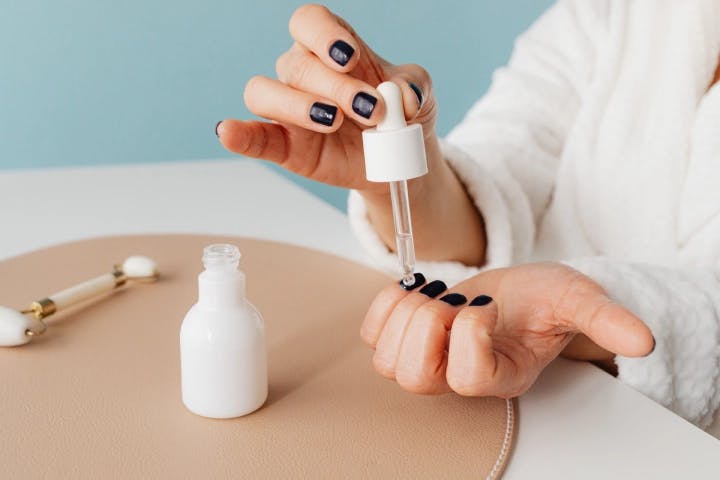
Finally apply some cuticle oil to add hydration back to your nail and cuticles. Polish it right into a nail bed by using the softer side of the polishing block. Find out the best cuticle oil here.
Congratulations, the polygel removal process is complete. As you can see, it's as easy as booking on Obooked.com.
Looking at how to remove polygel nails without any damage? Well, it’s easy even to do it manually at home.


